
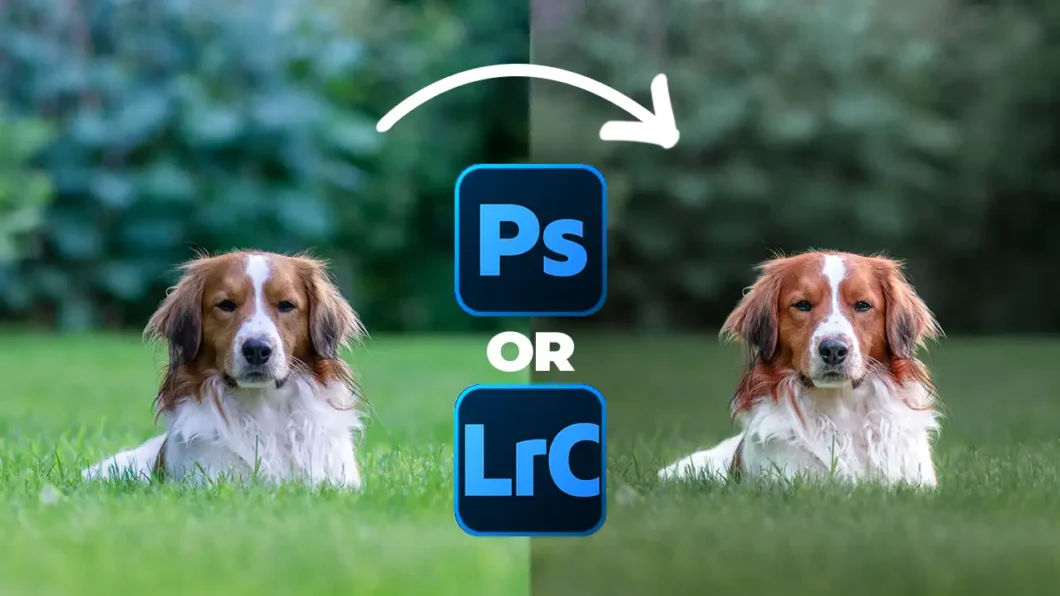
Learn how to get a cinematic color grade using only the built-in tools in Adobe Photoshop or Lightroom. No plugins, no paid presets, just sliders.
Do you want your photos to look like they came straight out of a movie? You don’t need expensive presets or third-party plugins to get there. In this tutorial, I’m showing you how to build a full cinematic color grade from scratch using only the tools already inside Adobe Photoshop or Adobe Lightroom.
Why Cinematic Color Grading Doesn’t Need to Cost Anything
Most “cinematic look” tutorials push you toward paid LUTs or presets. The truth is, everything you need is already sitting inside the sliders you already own. In this video I walk through the exact process step by step, using nothing but native Photoshop and Lightroom tools, so the result looks expensive while the method costs you nothing.
Photoshop or Lightroom? You Can Use Either
One of the best parts of this method is that it works in both programs. Whether you’re a Photoshop editor or a Lightroom shooter, the same color theory and slider logic applies. I show the workflow in the video so you can follow along no matter which app you use.
Watch the Full Tutorial
Watch the full video above for the complete walkthrough, including before-and-after comparisons so you can see exactly how much of a difference this grade makes.
> Download stock photo here